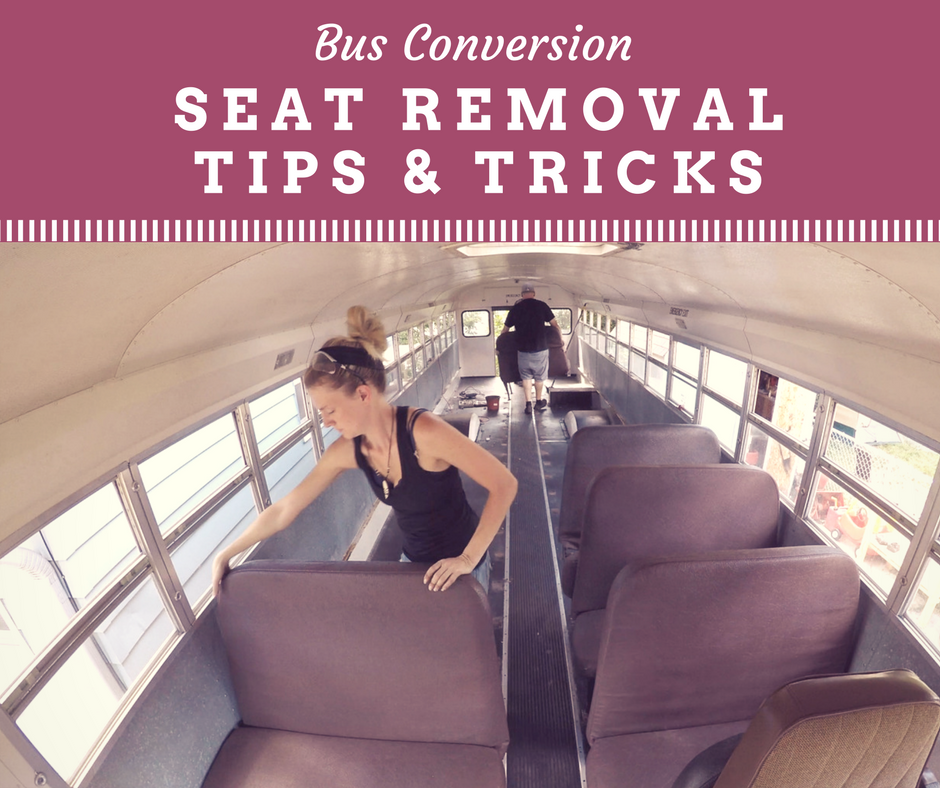
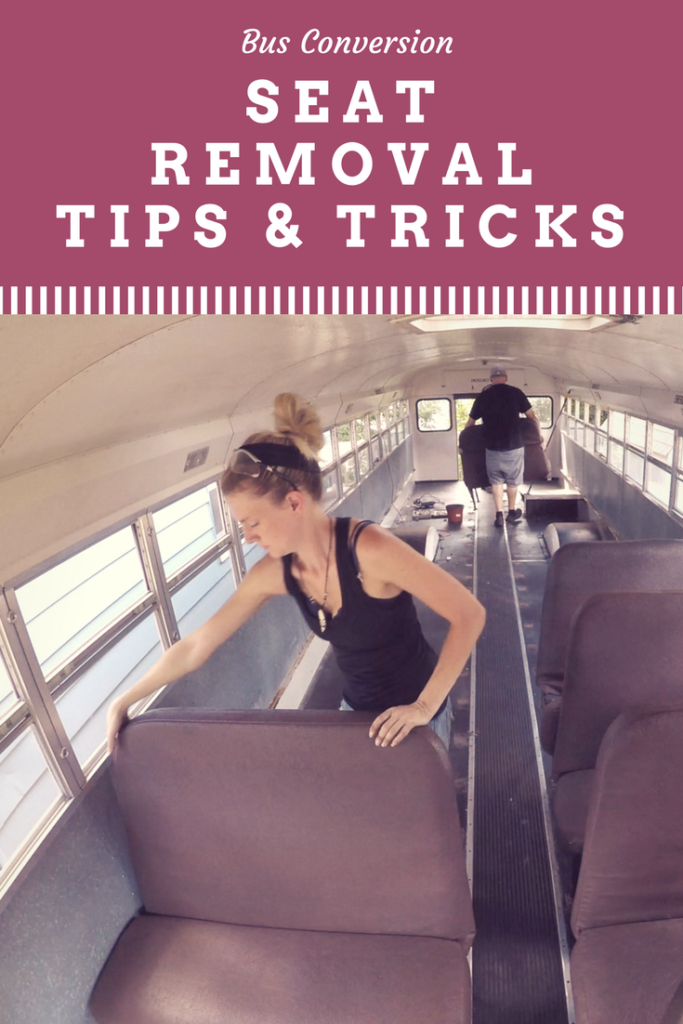
Bus Conversion Seat Removal Tips
Removing bus seats sounds like something that would be fairly straightforward. However, it can be a lot harder than it sounds. There are a lot of tools involved and it’s always helpful to have a system in place. In this article, we will discuss how we removed our seats and what tools were used.
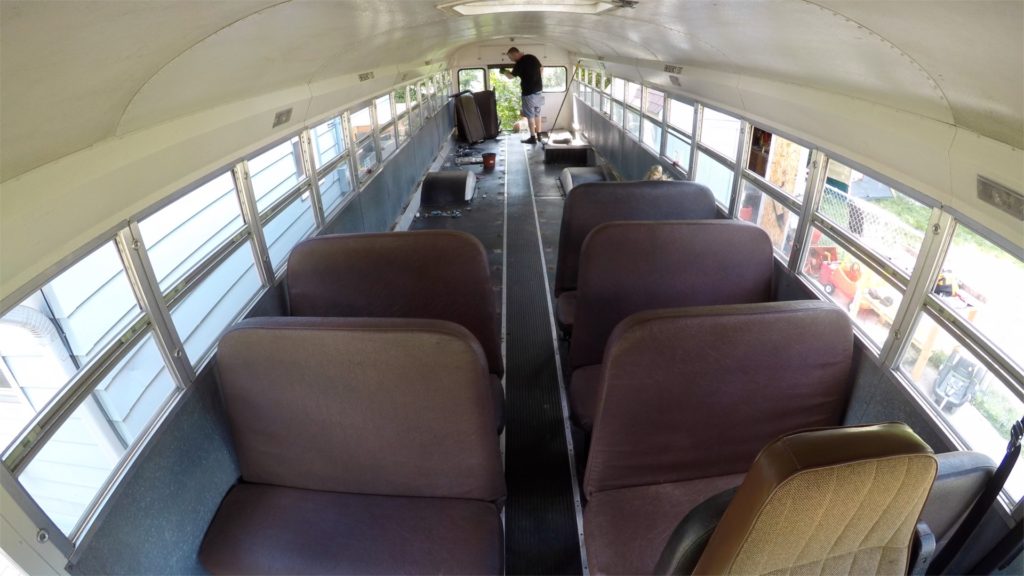
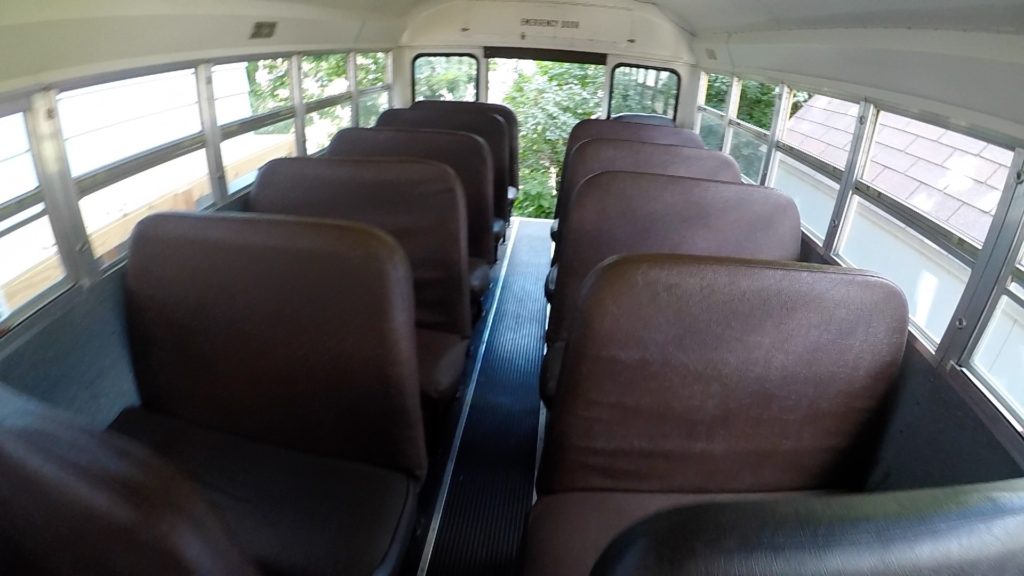
We started at the back of the bus so that we could begin throwing the seats out of the rear emergency exit. The back door is wider than the front door and required less maneuvering.
Bolt Removal
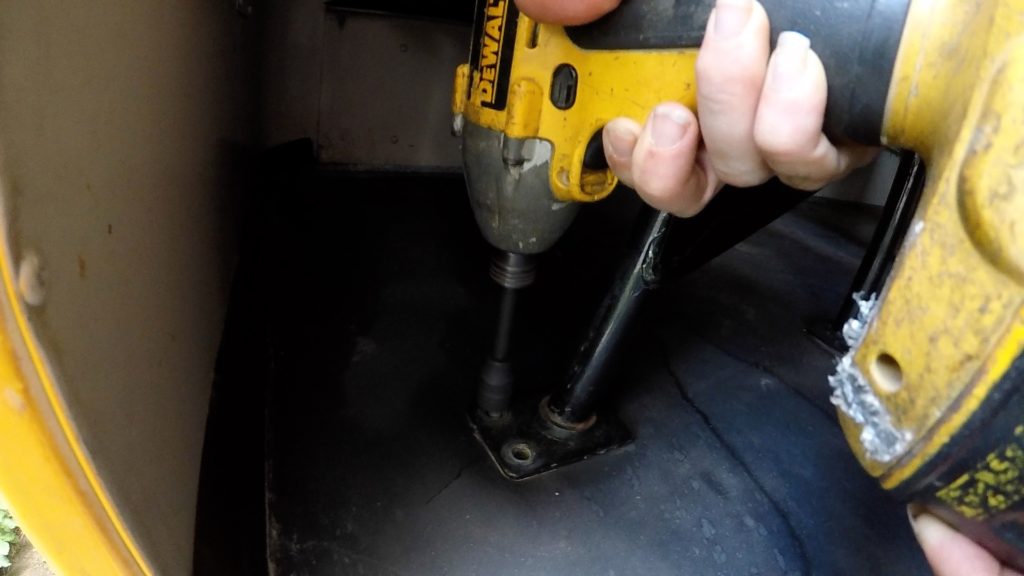
When it came time to remove the bolts, we had one person inside of the bus with an impact driver and a magnetic nut driver set. The two sizes of nut driver bits we used were 1/4″ and 7/16″ because we had a couple different sizes of bolts. The ones in the floor were 1/4″ and the ones attached to the walls were 7/16.”
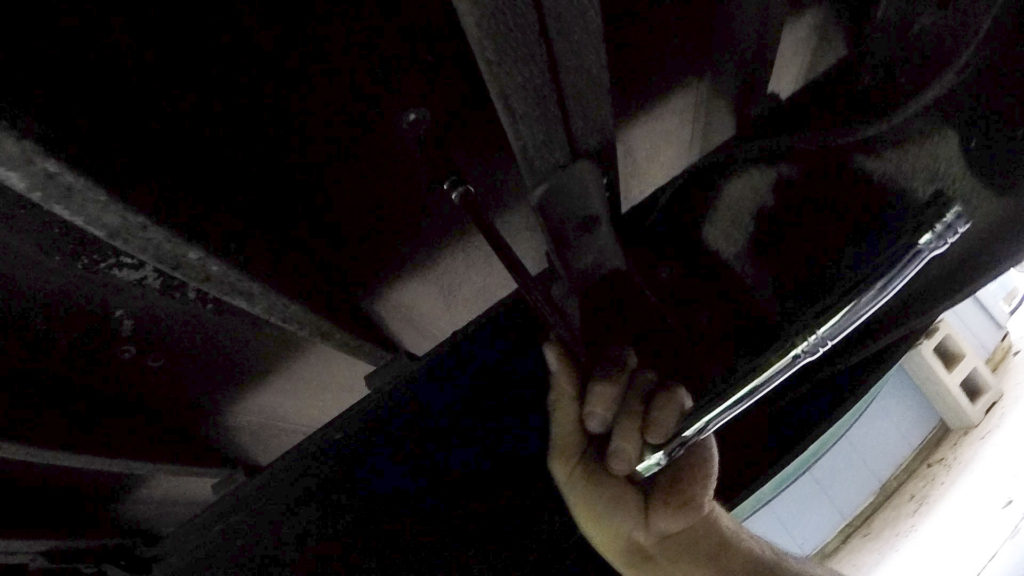
We had a second person on the bottom with a ratchet and ratchet extension bar to hold the nut in place while the person with the impact driver unscrewed the bolt from above.
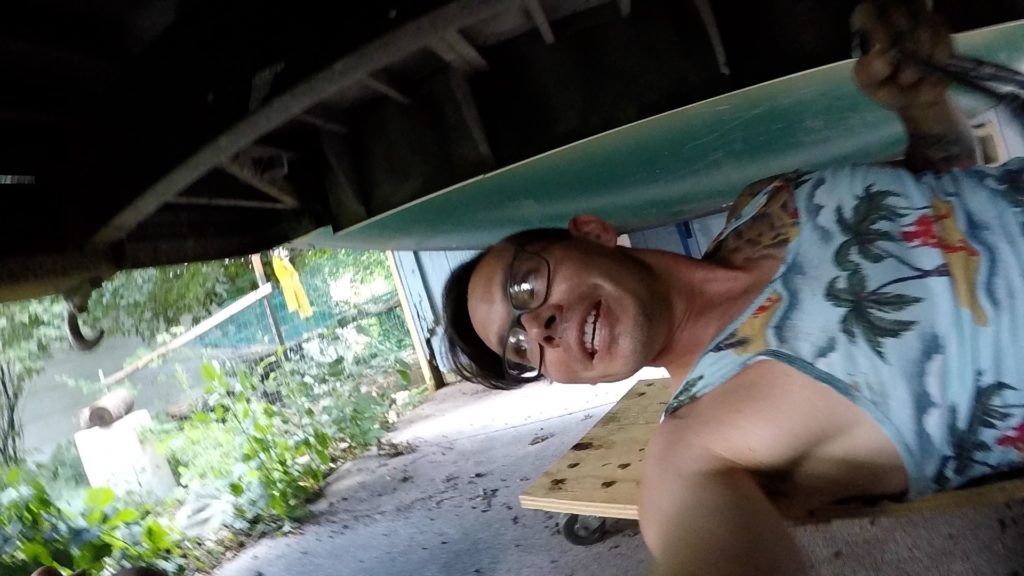
There are a few benefits of using the extension bar with the ratchet. One is that if you’re tall enough, you can lay on your back and reach the bolts from underneath.
We used a creeper that we built with plywood and casters. However, you can buy one that’s already built. They make it much easier to move around underneath the bus for jobs like this.
For stubborn bolts
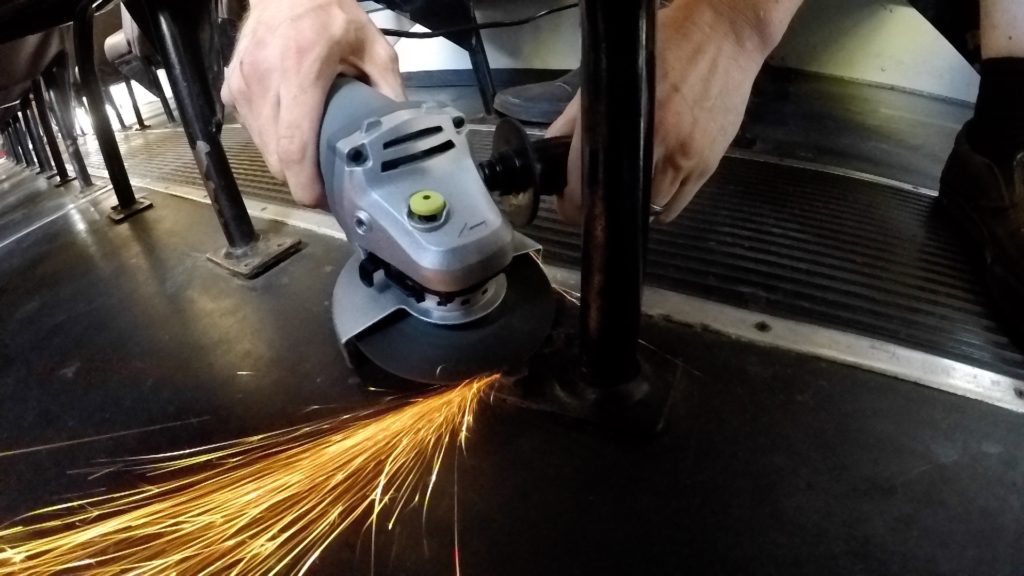
We did find that some of the bolts in the floor were too rusty and stripped to remove with the impact driver/ratchet system. For those, we had to use a 4.5″ angle grinder to grind them off.
We were lucky that with this bus, we didn’t have a lot of rust. Therefore, we only had to do this a couple of times. If you haven’t bought a bus and are still looking, we would highly recommend finding one without rust.
To remove the bolts that attached the seats to the walls, we also had to remove the bench tops of the seats. This was because we could not get to them with the bench still attached.
The benches were held on by small pieces of metal on the underside of the seat. After loosening the screws with a screwdriver, it was easy to turn them to the side and lift the bench off. Although we did have to use a hammer to get some of them to budge.
Tools for Seat Removal
• Safety Glasses
• Face Shield – for use with the angle grinder and underneath the bus to protect your face from falling rust and dust.
• Light duty work gloves
• Ratchet set
• Extension bar
• Hammer or rubber mallet – to remove stubborn benches of seats
• Phillips screwdriver for loosening screws under the seats
• A creeper – the slider thing that you can lay on and roll around under the bus with, otherwise crawling around can be painful. You can buy one or you can make your own with plywood and casters if you’re diehard DIYers like us. Either way, we highly recommend one!
• One or two 5 gallon buckets with handles – for a cheap and portable container to throw the nuts & bolts in.
• Bonus Tool: Air Hammer – this is amazing for removing rivets. It has made our lives SO MUCH EASIER! The sooner you can get one of these, the easier you’re life will be!
Below is the full video of our seat removal process.

You might also like: 5 Mistakes to Avoid when Buying a School Bus for a Bus Conversion
If you found this article to be helpful, make sure to sign up to receive more updates and info! We promise your information is safe with us and we do not spam.
Disclosure: Some of the links above are affiliate links. This means that at no extra cost to you, we will make a small commission if you click through and make a purchase.