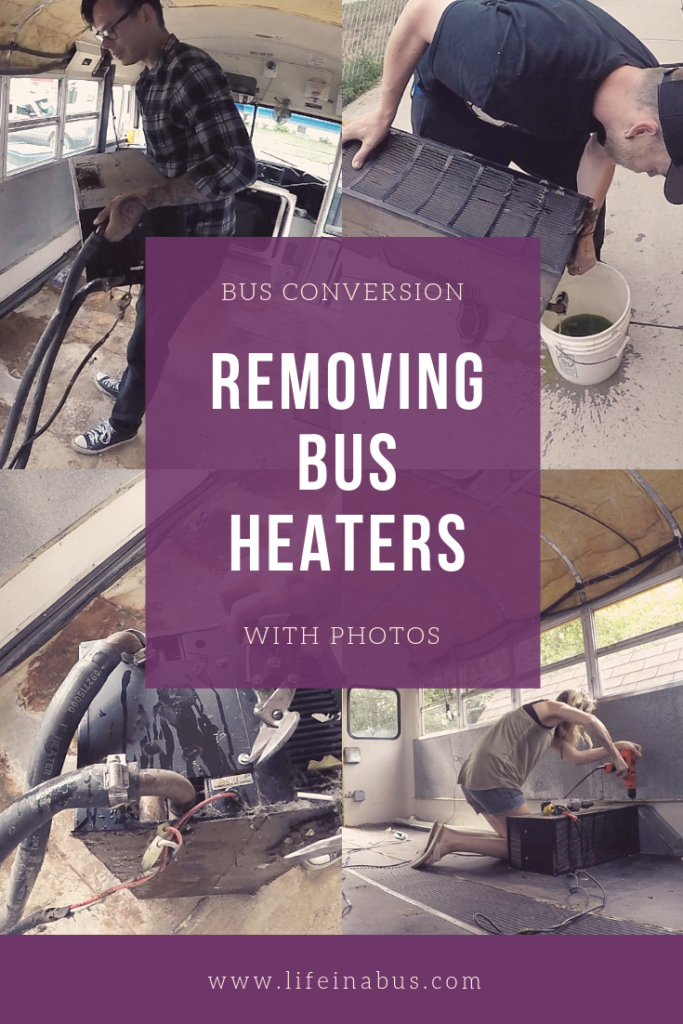
Bus Conversion Heater Removal
All buses have at least one heater in the rear, with some having two. Most people converting a school bus remove the back heaters. The reason for this is mainly that they are large and unnecessary.
They also can get in the way of the interior design and layout of the bus. There is no reason to keep the rear one unless you are planning on having seating toward the rear of the bus. Most conversions keep the seating area toward the front.
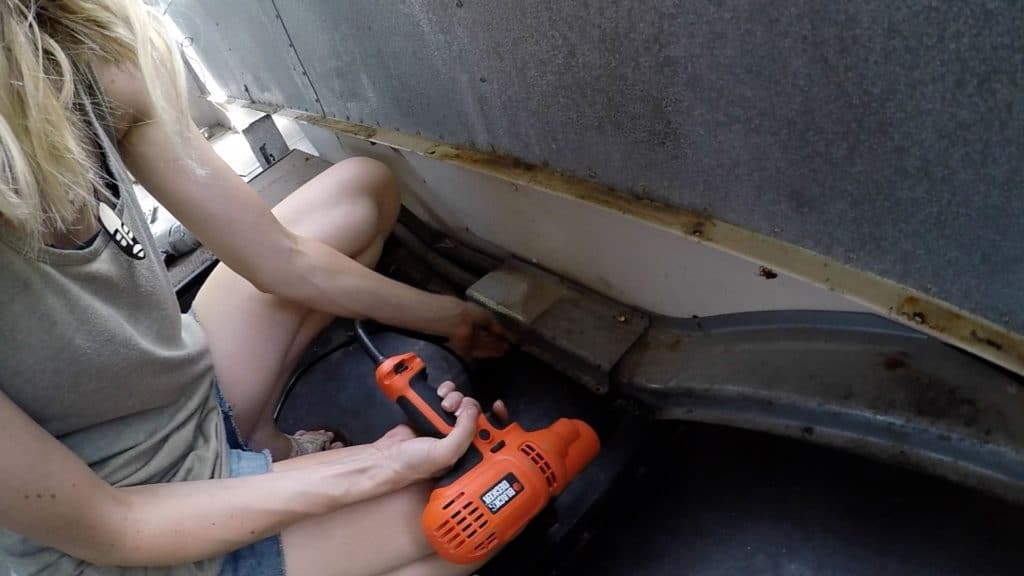
Remove Metal Casing around Coolant Lines
The first thing we did was remove the metal casing that was around the hoses that ran from the front of the bus to the rear heater. It was held in place with Philips screws, which were easy to remove.
This was a fairly simple process, although we would recommend getting a small seat or knee pads.
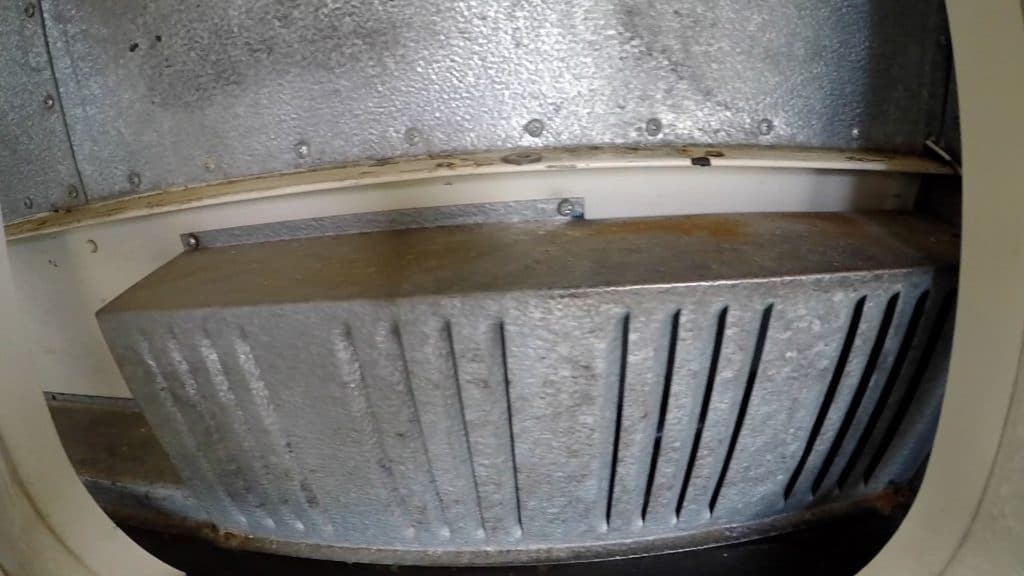
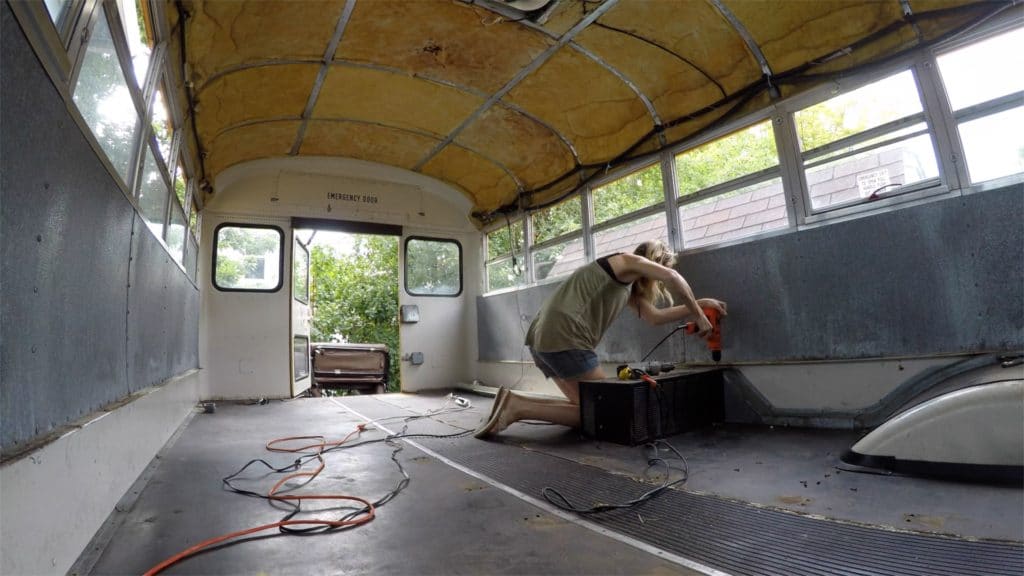
Unscrew Heater from Floor
Then we unscrewed the rear heater core from the floor. This was also a simple process.
Cut Hoses and Drain the Coolant
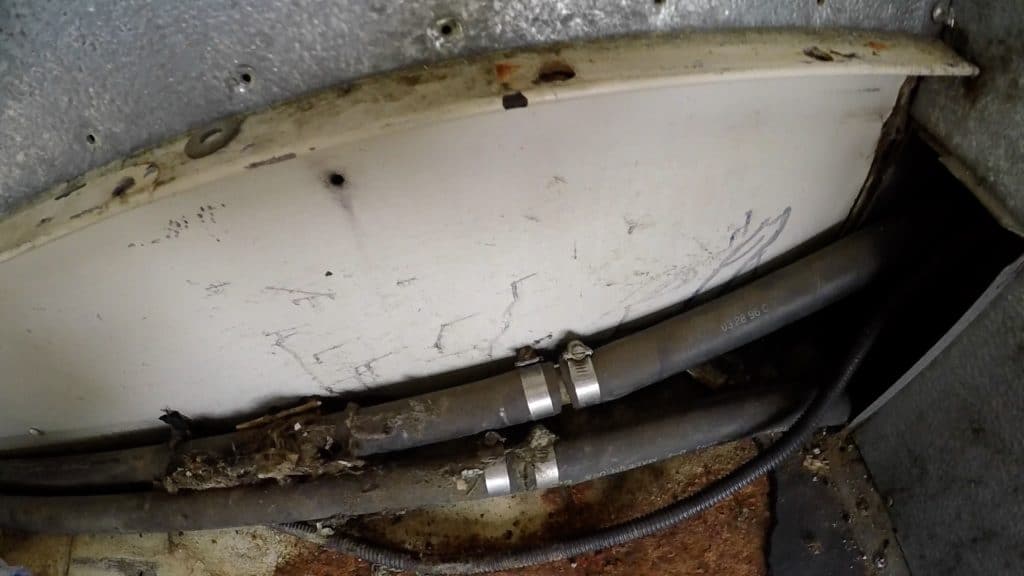
For some reason, the tubes ran out and under the bus so we had to go underneath and cut them. The images below show the section of the hose that was connected underneath of the bus. The hoses were caulked through a hole in the floor of the bus.
Our thought was that maybe at one point there was a coolant leak and they fixed it by running the line through the floor. This way, at least if it leaked again, it would happen outside of the bus. We’re not 100% sure but that is the only logical explanation that we could think of. All buses are different and they each seem to have their own quirks.
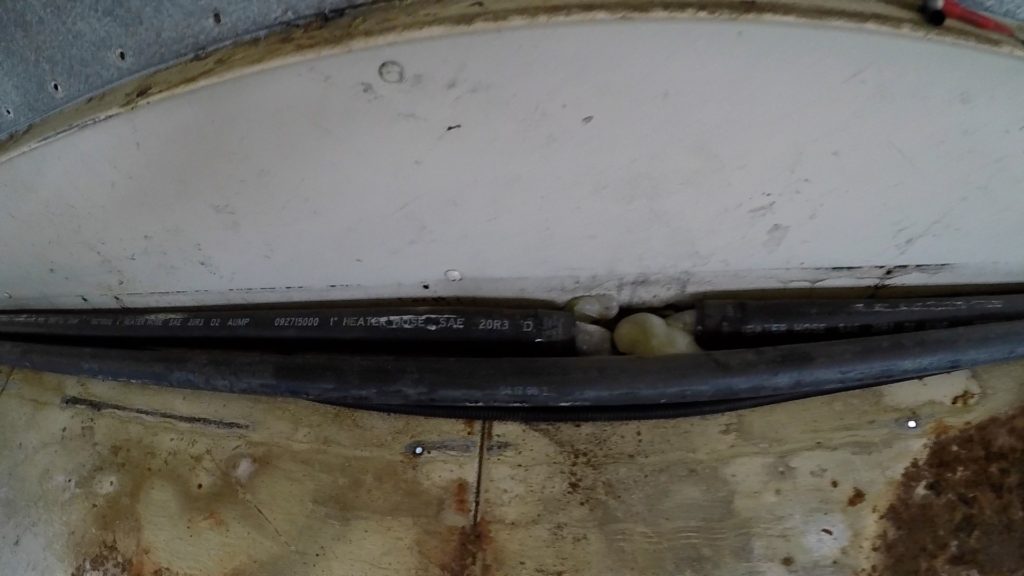
This is what it looked like from inside of the bus.
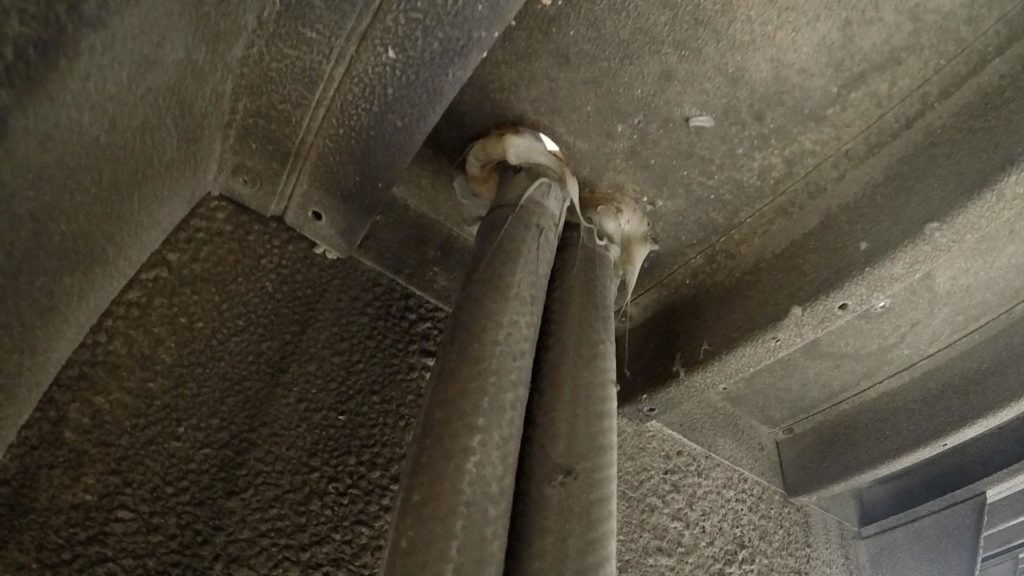
This is what it looked like from the underside of the bus.
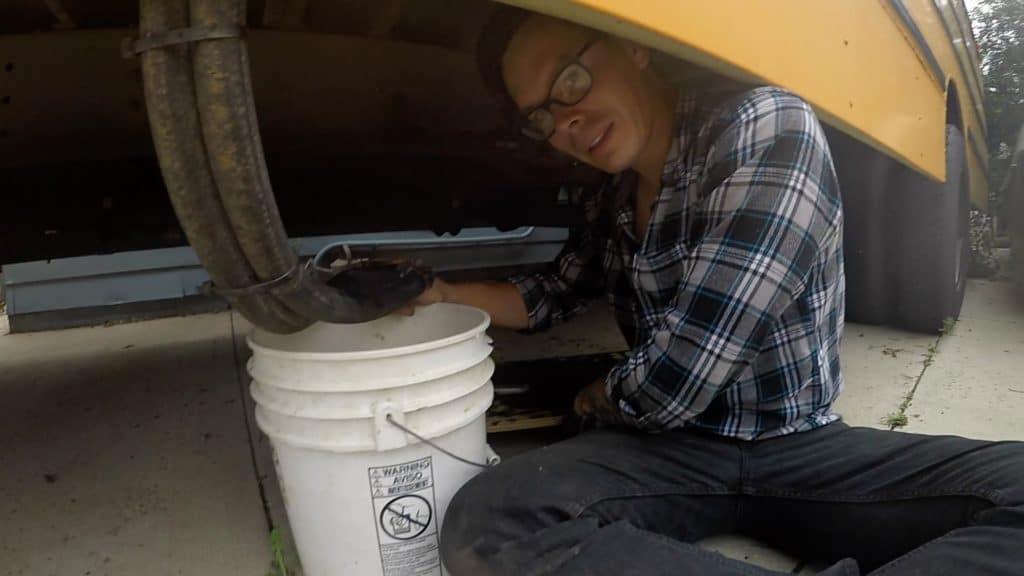
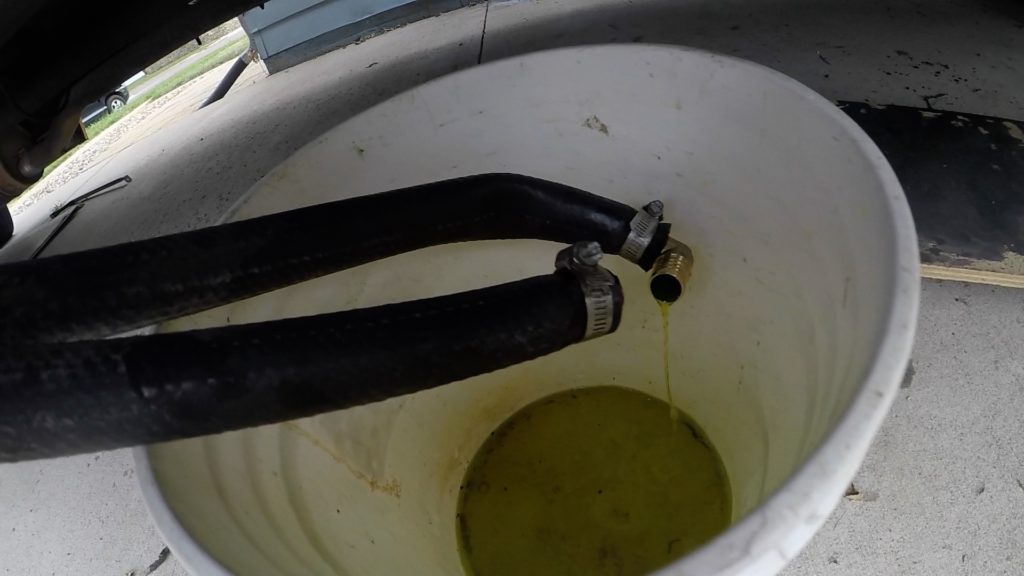
We used a 5-gallon bucket to drain the coolant into. For this job, we’d highly recommend having a foldable creeper to move around easily underneath the bus. This is something that has come in handy for us time and time again when we have to work on the underside of the bus. It’s saved our lives and our backs and is definitely worth the investment!
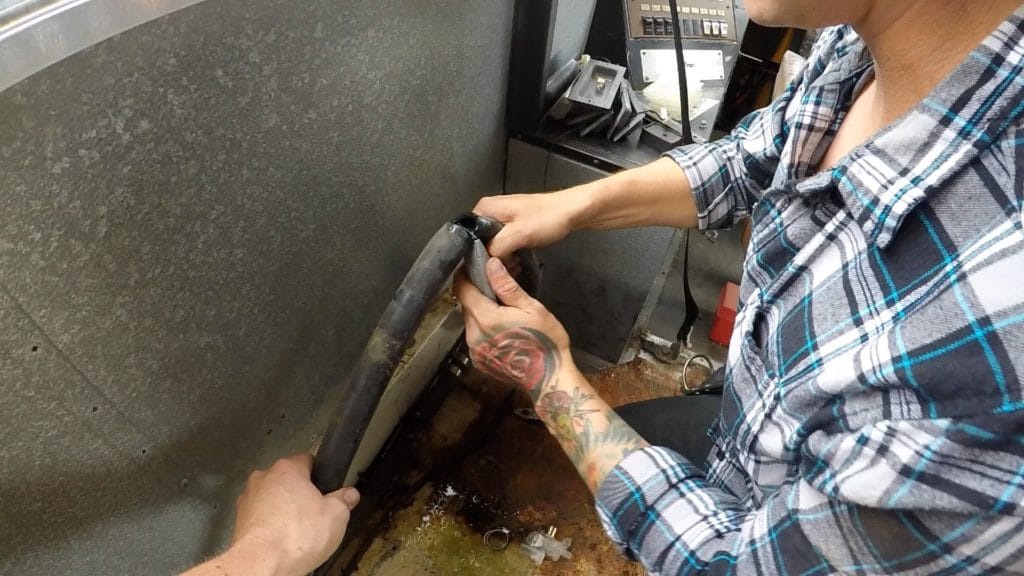
Underneath the casing toward the front, this is what we revealed. We disconnected these lines as well and drained more coolant.
After this, we saved this barb elbow fitting from underneath of the bus to connect the two lines that we severed toward the front.
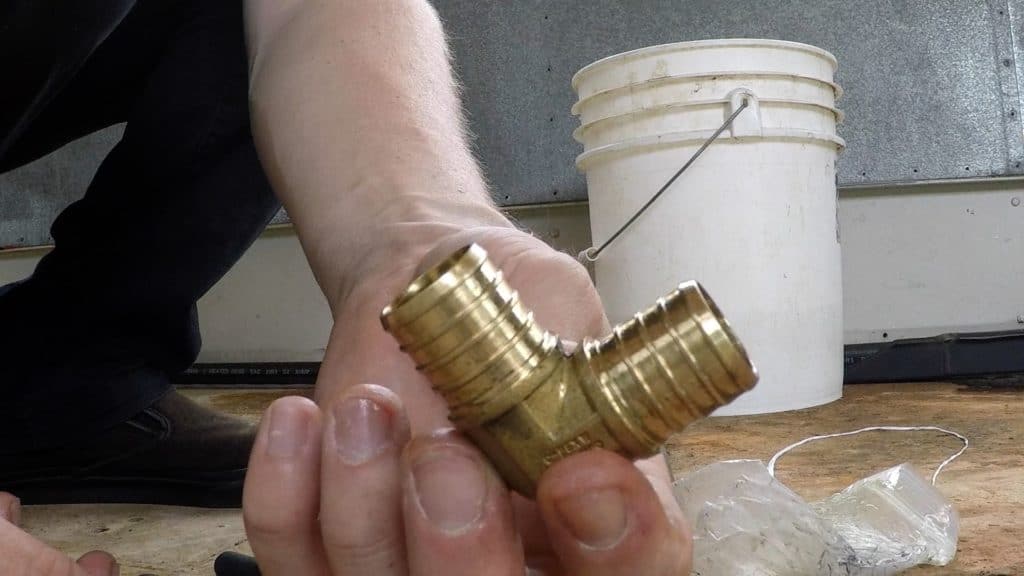
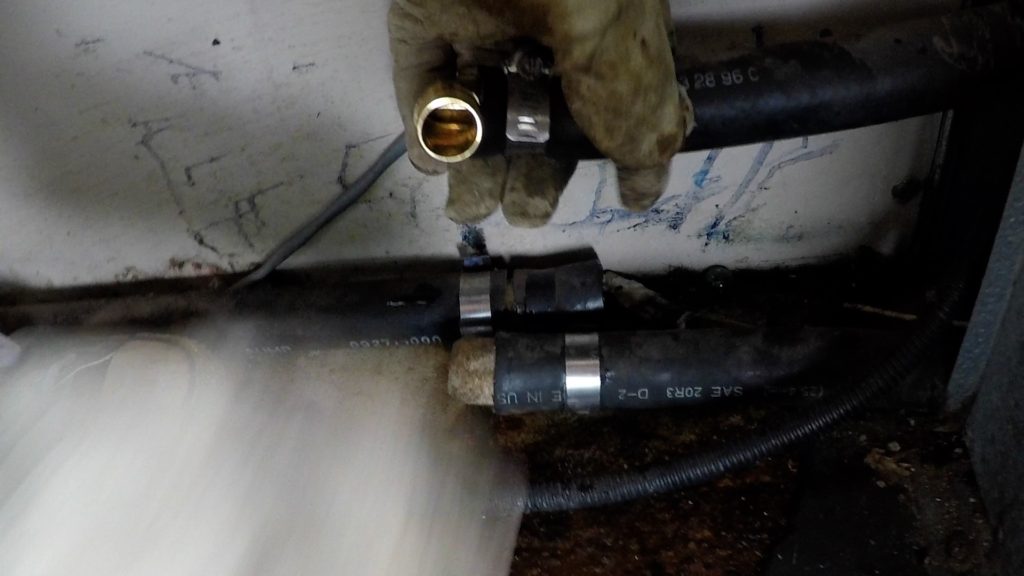
It worked out perfectly because it was already to size for the coolant lines.
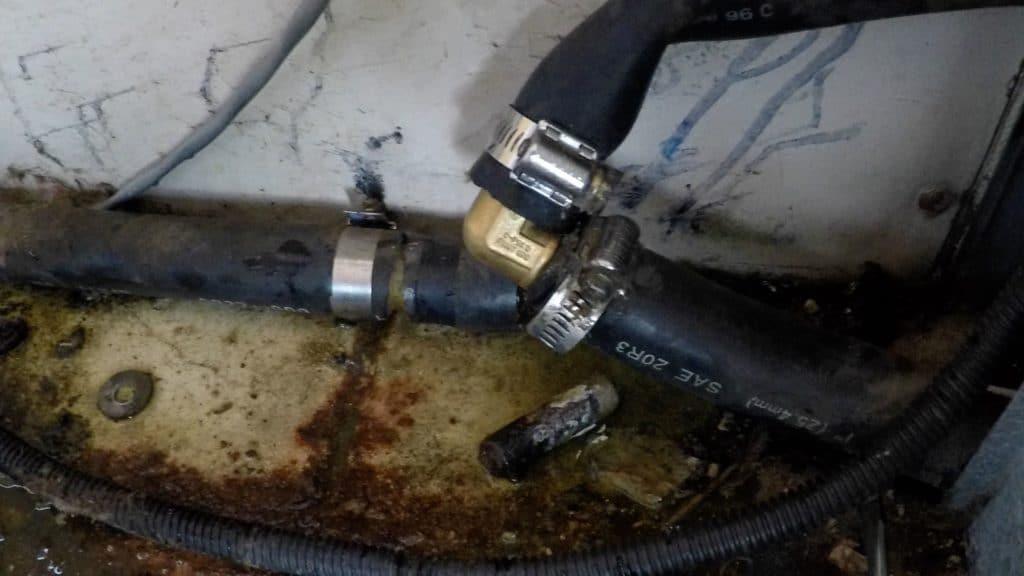
We then tightened these metal pipe clamps around the tubing to secure the elbow exactly how it was underneath of the bus.

We then carefully carried the heater core toward the front of the bus and began to disconnect the lines from it.
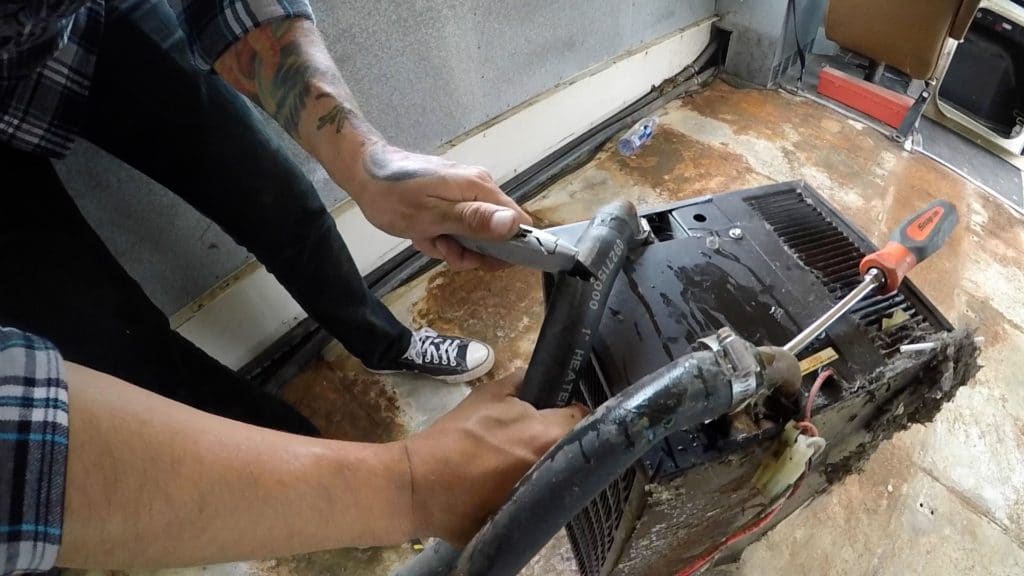
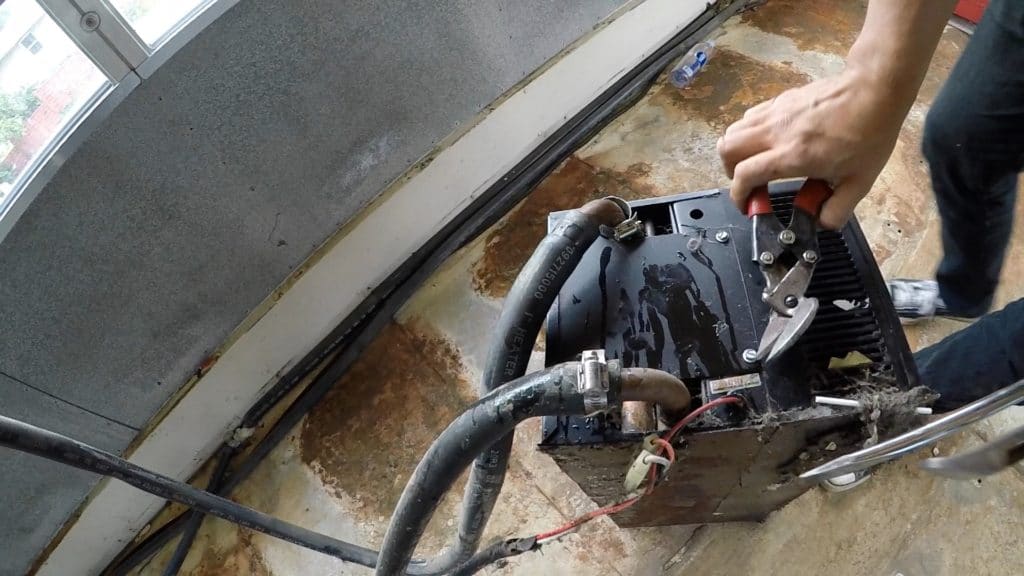

There was also some electrical wiring connected to the heater so we disconnected those as well.
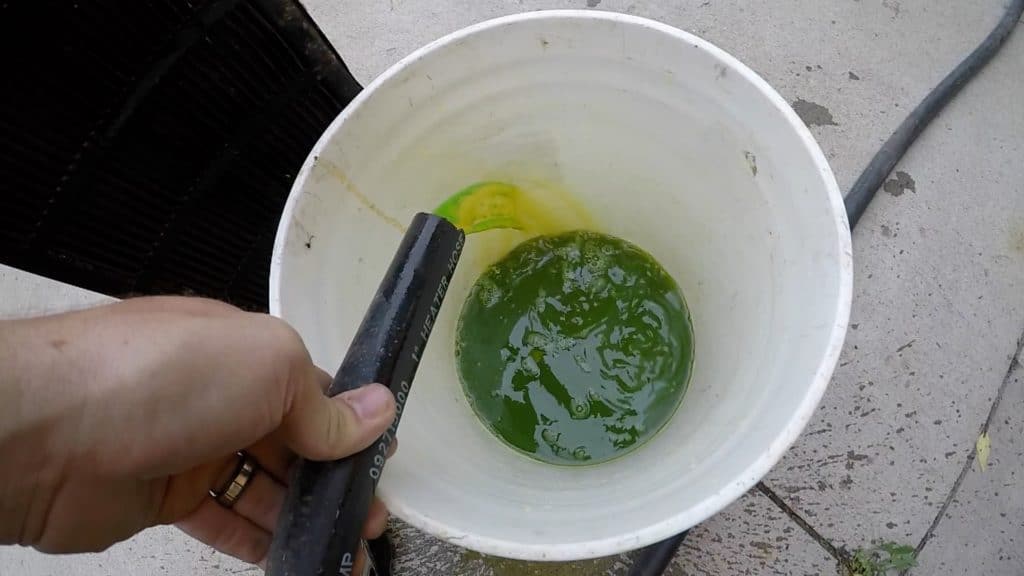
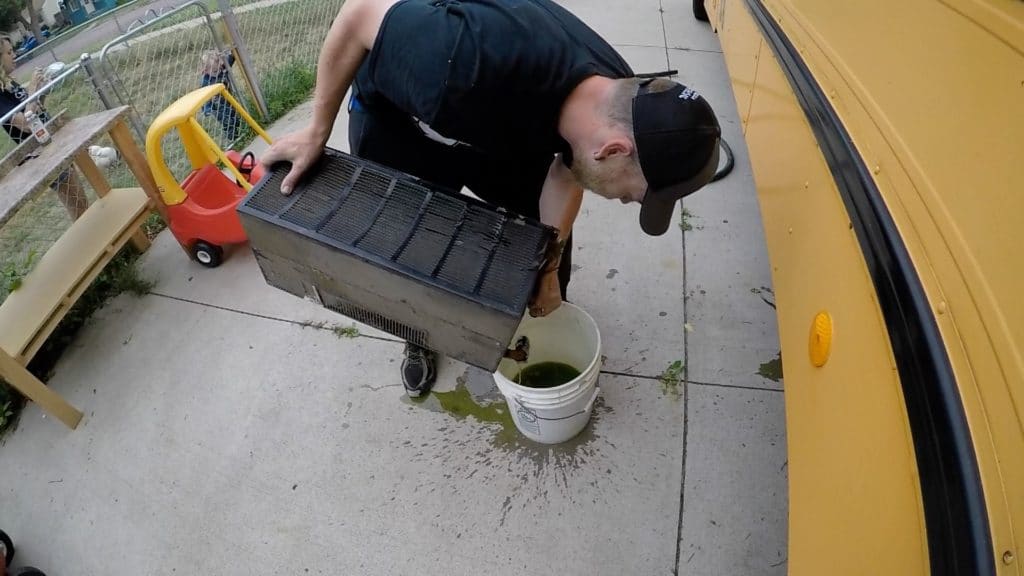
After removing the heater from the bus, we carefully finished draining any remaining fluid.
Save your hoses!
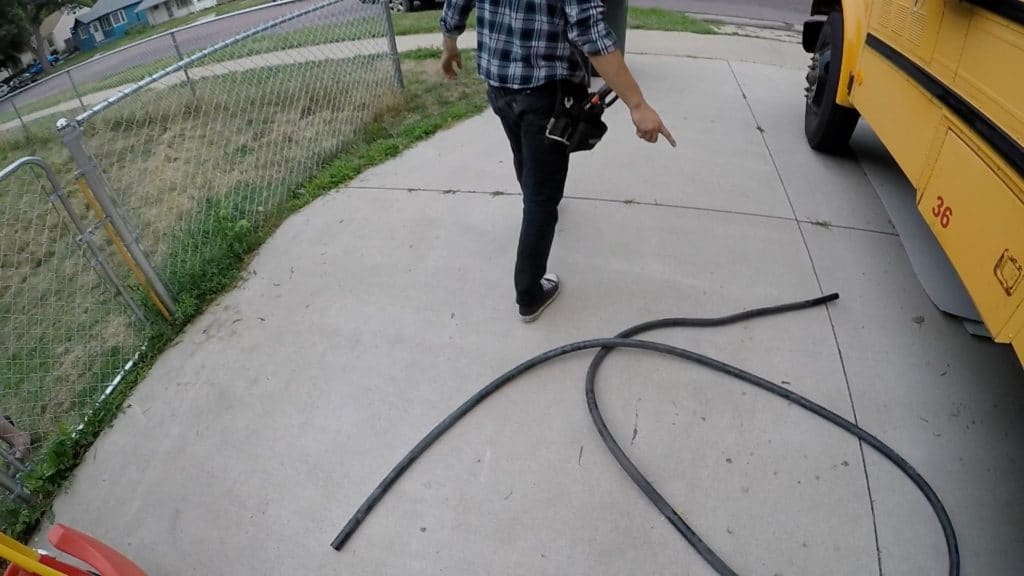
We decided to save the extra hose that we removed in case we spring a leak in the future.
Materials
All of the materials we listed above, such as the clamps and elbow, can be found at a local hardware store.
If you have the opportunity to cut out a piece of the tubing before you go to the hardware store, you can bring it with you to make sure that you’re getting the correct size hardware.
If you found this article helpful or had a different set up with your heaters, please let us know in the comments below! We’d love to hear from you!


One Comment
Guillermo Vivas
Í will this procesa í yo restauration tk