What You Need to Know About Ceiling Panel Removal
Removing ceiling panels seems like it would be fairly straightforward. However, there are some things that are good to know before getting started.

There are two common types of fasteners that hold up the ceiling panels in a bus. The one you hope for is Phillips head screws. Ours, thank goodness, were Phillips. Then there are rivets, which are a little trickier to deal with. This is also true for the side panels underneath of the windows, but we’ll get to that in a later post.
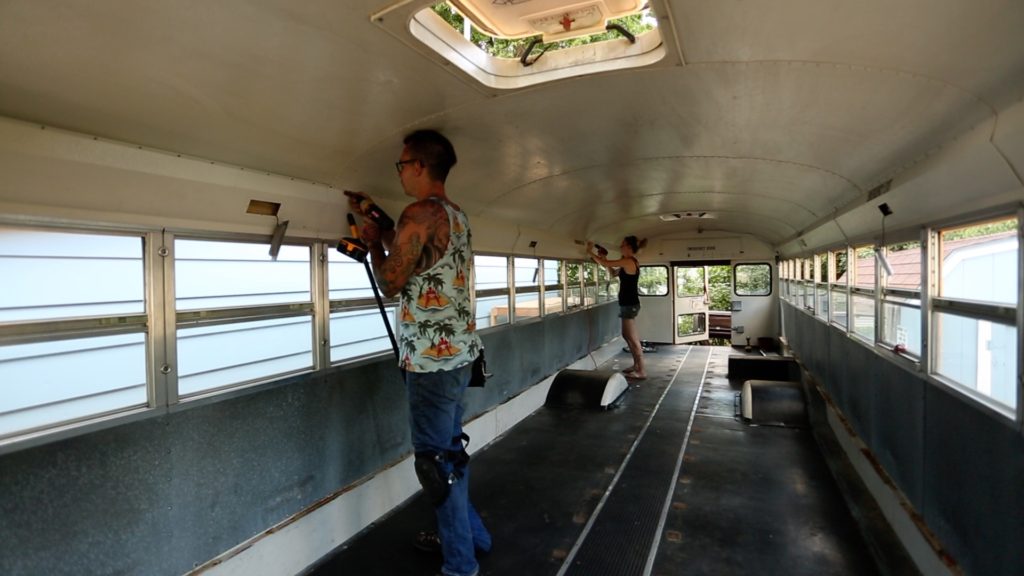
Remove interior lights and panels above windows.
The first panels that we had to remove were the ones that are above the windows. We had to unscrew all of the interior lights before we could remove the panels. We then let them hang there while we unscrewed the panels and then fed them through the holes. We then realized that the wiring was very easy to disconnect from each light and put all of the lights aside in a box.

Find the first ceiling panel.
Before you begin with the ceiling panels, look at your panels and see if they start overlapping from the front of the bus or the back. The panel in the back of our bus was the last one that was installed by the manufacturer, so we removed that one first and made our way toward the front. Our bus is a 1996 International AmTran. We also had a camera attached to the back panel of the bus by Philips screws, so after we removed the panel we carefully disconnected the camera wiring.
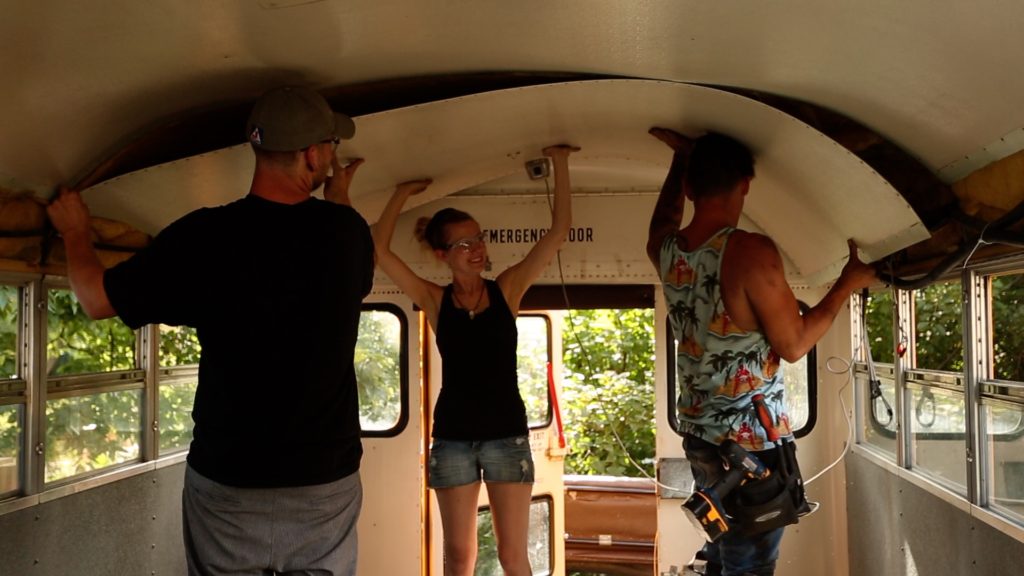
Make sure to have some help for this process.
We would recommend having two to three people for this job. You will need at least one person to hold the panel up and one person to unscrew or remove rivets. We had three people holding up the panels while also unscrewing. We then stored the ceiling panels underneath the bus. You can either reuse them for another part of your bus conversion or scrap them. We are using our ceiling panels to line the storage that we will be building underneath of our bus.
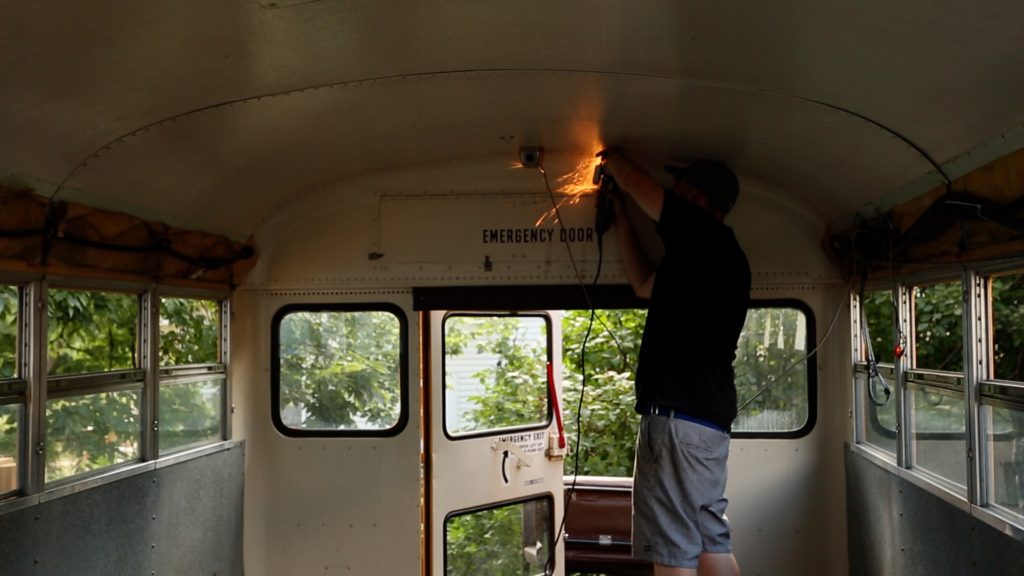
If you have Phillips, remember that you still may need to use an angle grinder, air hammer or hand tools, such as a hammer and chisel (which we would NOT recommend as a first choice). This is just in case any of the Philips heads gets stripped out. Before we bought our air hammer, we used the angle grinder to remove the heads of the stripped screws. However we later found that it was easiest to use the air hammer, but you will need an air compressor to use this tool. 
Air Hammer
There are pros and cons to every one of these methods, but our recommendation is definitely the air hammer. One con to the air hammer, though, is that it’s loud, so be sure to use proper ear protection with this tool. You may also need to sharpen the chisel with some sort of a grinding wheel. A bench grinder is the most common.
Recommended Items for Ceiling Panel Removal:
Eye Protection
Phillips Screwdriver
To see the full-time lapse of how we removed our ceiling panels, check out the video below:
If you’d like to receive more information like this right to your inbox, make sure to sign up below!
Disclosure: Some of the links above are affiliate links. This means that at no extra cost to you, we will make a small commission if you click through and make a purchase.