Wall Panel and Window Removal Tips

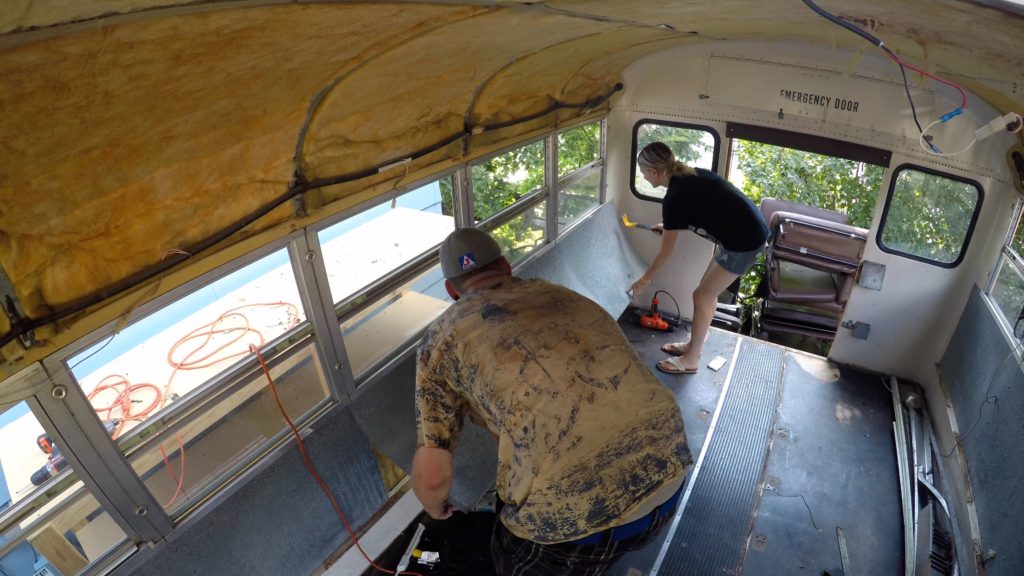
Removing the wall panels and windows may seem like a pretty daunting task to someone who has never done a job like this before, but I’m here to tell you that it is very easy and doable even for the absolute beginner bus converter!
Wall Panels
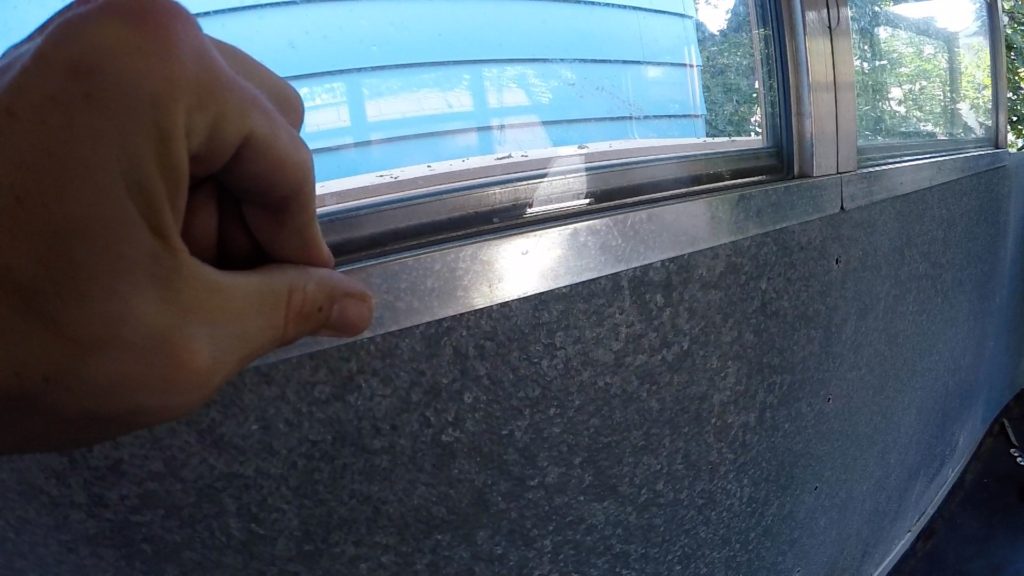
Whether you take the wall panels or the windows out first depends on the way your bus is put together. You should be able to figure it out pretty easily by looking at it. If your windows are hanging over your wall panels, then take your windows out first.
If you are lucky, the wall panels are fastened to your bus with simple Phillips head screws. This will allow you to use a drill with a Phillips bit to speed up the job.
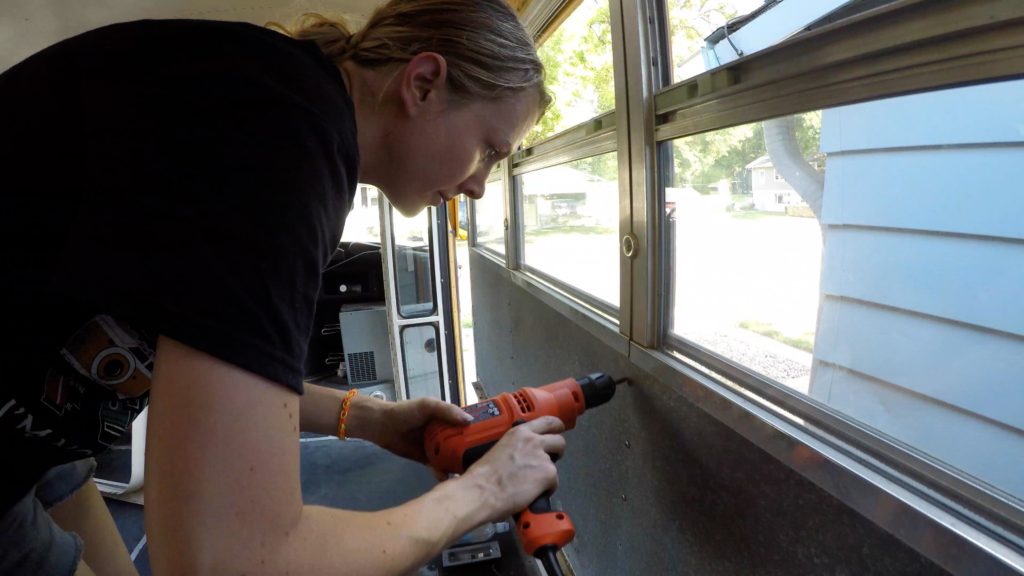
Remember that just because you see that Phillips screws are holding your wall panels up, it doesn’t mean they’re the only fasteners involved. There is a chance that some of them are tack welded here and there. Additionally, there’s the possibility that adhesive was applied before they were installed.
If you unscrew a panel and you find that it’s tack welded in a few spots, have no fear. You can pop the tack welds out with a metal chisel and hammer. This can be done by lifting up the panel, placing the chisel right on the weld and whacking it with the hammer.
Air Hammer & Chisel
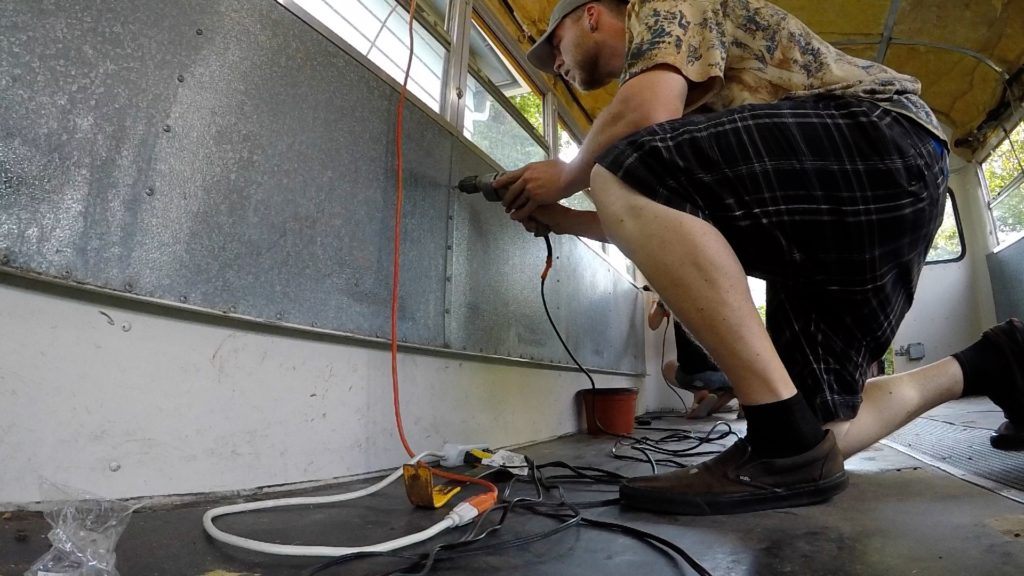
The tool that we’ve found to be the most useful in our bus conversion is the air hammer with a chisel bit. If you do not have an air hammer and you are converting a bus, we would highly recommend getting one! This tool has made our lives so much easier, especially when it comes to removing rivets! It saved us so much time and money with a small investment!
This is not the area of a bus conversion that you want to skimp out on. You need good tools to get good results (and not go crazy with the alternative!). The air hammer that we purchased was less than $25 and came with the chisel bit. Additionally, the air hammer works really well for removing old adhesive and prying things apart.
The hose and air compressor we used also work wonderfully for the job. The air hose was lightweight and easy to move around and work with.
With that being said, knock anything off of the back of the panels that is holding them to the wall with an air hammer or chisel and metal hammer.
Also, you may want to keep those panels handy because you may want to reuse that metal later!
Alternative ways to remove rivets
There are several other ways to remove rivets but none of them are as easy as using an air hammer. Using a grinder with a cutting wheel is possible but it’s is very messy, hot, and dangerous.
Additionally, it is possible to use a reciprocating saw and metal cutting blade but it’s much harder to get under the head of a rivet and even harder on your hands.
UPDATE: We forgot that it is also possible to drill out the center of the rivets if you are unable to afford a complete air hammer and compressor setup. This can be done by using a drill bit that is one size smaller than the size of the opening in the rivet.
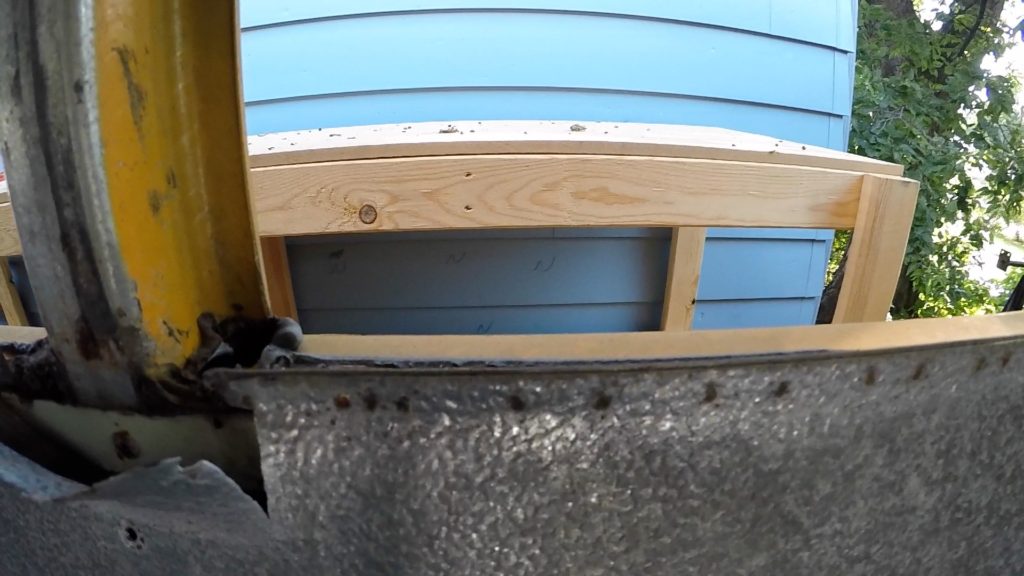
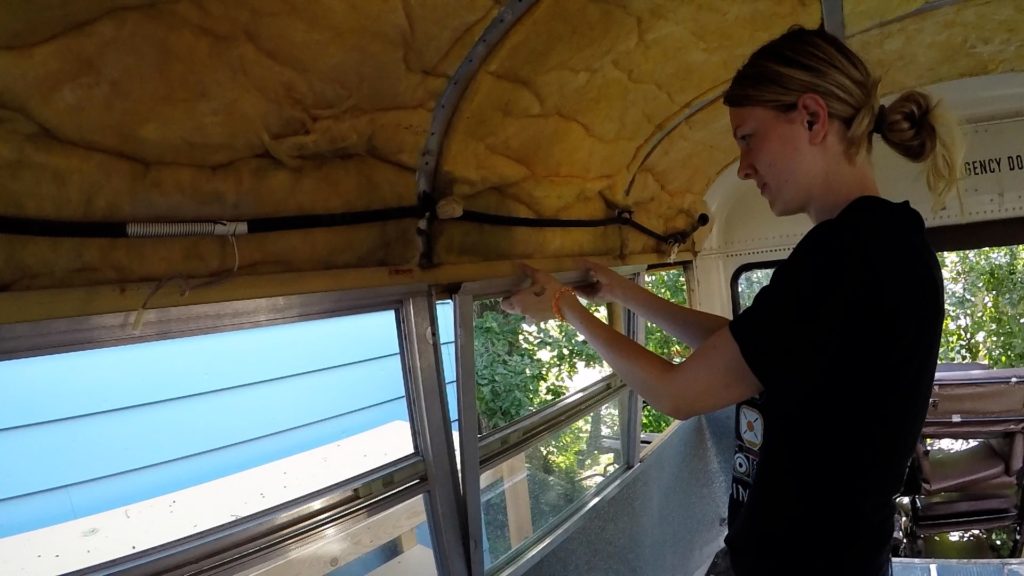
Window Removal
Now to the window removal! This is definitely the easiest job on the bus!
There should be a couple of giant screws between each window. They will have giant washers underneath of them that overlap the edge of the window on both sides.
Remove all of those screws and washers to start. Now it’s the fun part! Just start pulling the windows out by pulling toward you from the top of the window.
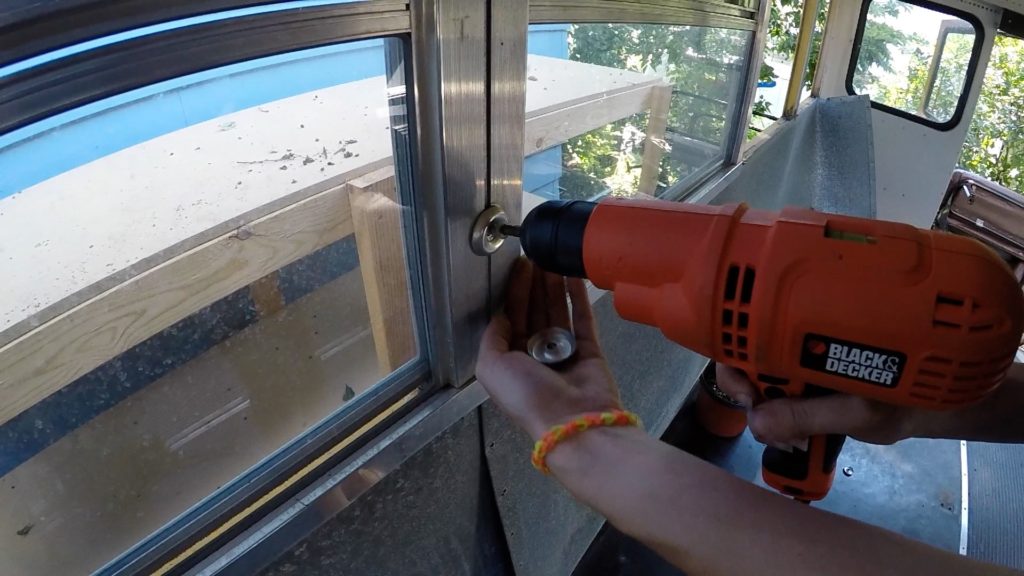
There will be some form of adhesive holding them in. If you just kind of lean back and let your weight do the work, they start slowly coming out and the adhesive slowly lets the window go.
If you are having any trouble with pesky windows that are really stuck, try prying it out with a pry bar SLOWLY because if you do it too fast you may break the window. You could also do this with a long chisel or crowbar.
We chose to order custom RV windows for our bus instead of using the bus windows.
We put our bus windows on Craigslist and someone came and picked them all up. One bonus about gutting a bus for us has been meeting all of these people that want to repurpose the materials!
For a full list of tools that we’ve used in our bus conversion:

Disclosure: Some of the links above are affiliate links, meaning that at no extra cost to you, we will earn a small commission if you click through and make a purchase. The products we recommend are all products that we have actually purchased, used in our bus conversion, and found to be worth sharing.


6 Comments
n'om'ad
You didn’t mention drilling out rivets – a cheap, effective (if time consuming ) way to do it if you really can’t afford an air chisel set-up
g.srubas
Wow I can’t believe we forgot to mention that! We actually used this method on a couple of our rivets before we bought our air chisel. We’ll have to update the post and add that in! Thanks for bringing that to our attention!
n'om'ad
Ya welcome! 😉
Nina
Awesome post. This is so helpful and informative. Thanks for sharing.
Pam
Great informative site. Have a 1991 bus i am rehabing into a skoolie rv/studio. You mentioned custom windows, any recommendations on best place to order them?
g.srubas
Thank you Pam! We are still looking into the windows but will be posting about them as soon as we are done with our research!